Testnet is always a fertile land for newcomers in the crypto market who want to earn a portion of income without having to pay fees when there are projects that have airdropped thousands of dollars. In this article Weakhand will provide everyone with instructions to participate in the Frame testnet, a Layer 2 project using technology from Arbitrum Nitro.
Some other projects may also airdrop in the future that people can refer to from Weakhand:
- Retroactive DeBank Hunting Guide
- Retroactive LayerZero Hunting Guide
- Retroactive Hunting Guide Project zkSync Era
Frame Overview
Frame is a Layer 2 platform on Ethereum using Arbitrum Nitro’s Optimistic Rollup technology developed by Offchain Labs. Therefore, Frame has almost absolute compatibility with EVM, so developers from Ethereum can easily deploy their dApps to this Layer 2 extremely easily.
Unlike Arbitrum, which is a Layer 2 that focuses on developing its ecosystem in the DeFi niche, Frame chose to build an optimal Layer 2 for NFTs. Therefore, Frame will have very high transaction speeds to accommodate tens of thousands of NFT-related transactions per second on the network.
Instructions for Joining Testnet Frame
Step 1: Faucet ETH testnet
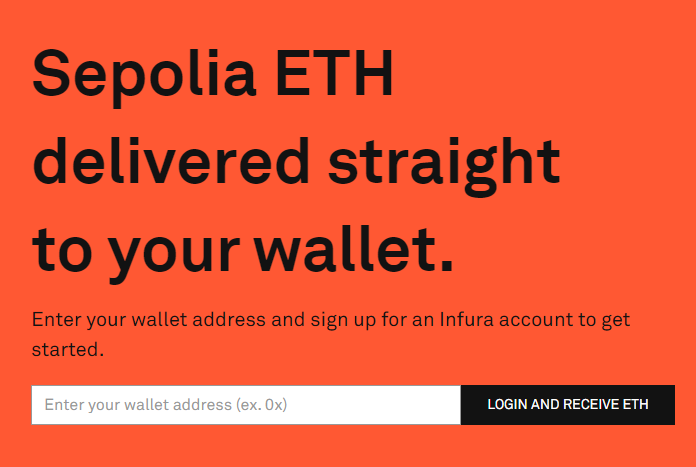
- Visit: https://www.infura.io/faucet/sepolia
- Sign up for an Infura account and faucet ETH testnet.
Step 2: Convert ETH to Frame
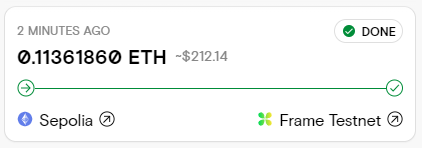
Using native Bridge:
- Access: https://www.frame.xyz/bridge
- Transfer ETH from Sepolia to the Frame network.

Using Superbridge:
- Visit: https://frame-testnet.testnets.superbridge.app/
- Transfer ETH from Sepolia to the Frame network.
- Redeem ETH after transferring using Frame network.
Step 3: Use dApps on Frame
Update…
Step 4: Deploy contract on Frame
To deploy smart contracts on the Frame network as well as use other tasks such as running a Validator, people can refer to the documentation provided by Frame here.
Step 5: Claim badge from Frame
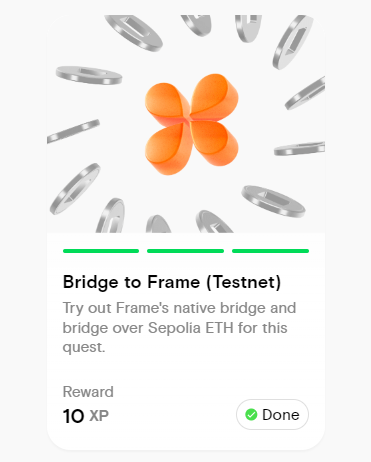
- Complete the steps mentioned above.
- Visit: https://www.frame.xyz/quests
- Claim badge from Frame.
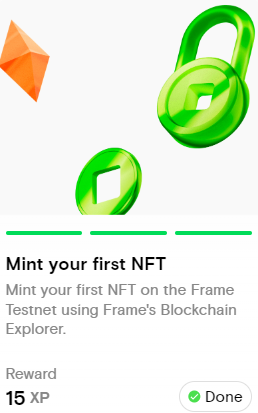
Perform Quest 2:
- Visit: https://explorer.testnet.frame.xyz/
- Enter in the contract search box: 0x576B01211dD3729C382Ff2EbaF57ab6074B930aF.
- Select “Contract” -> “Write” -> “Connect Wallet” -> “mintCommemorativeNFT” -> Enter 1 and Write.
- Return to the Frame Quets page and claim badge.
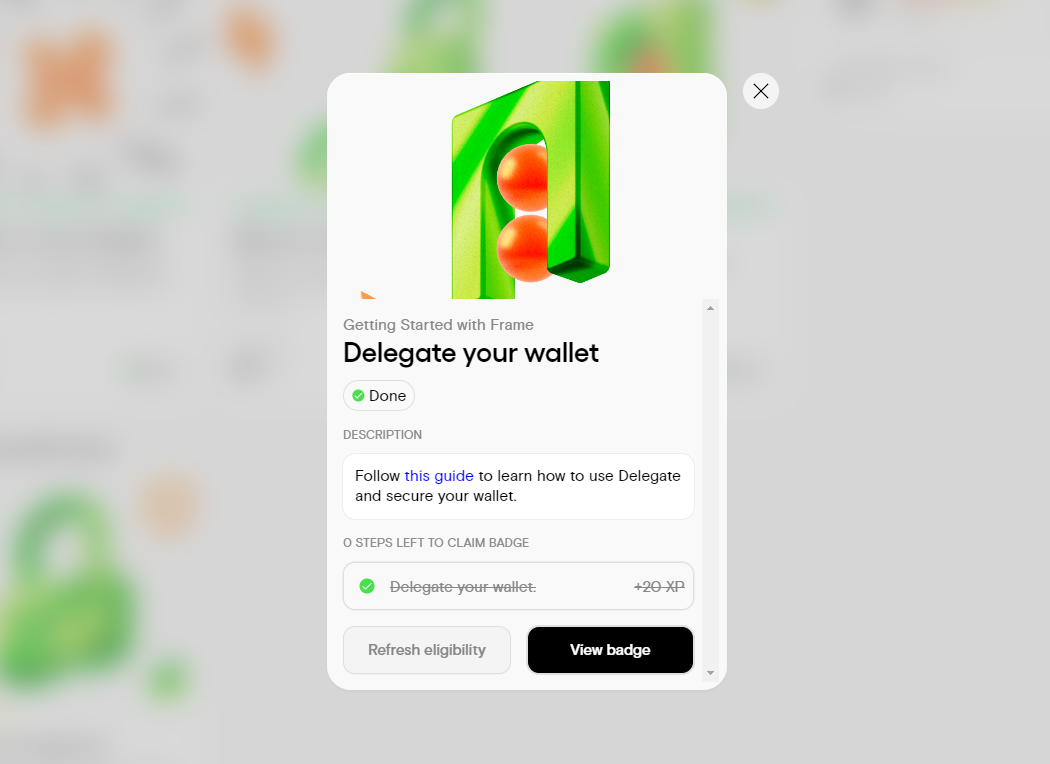
Perform Quets 3:
- Visit: https://delegate.xyz/
- Connect the Metamask wallet to the Frame Testnet network.
- Select “Tap to… Delegate” and Delegate to any wallet address.
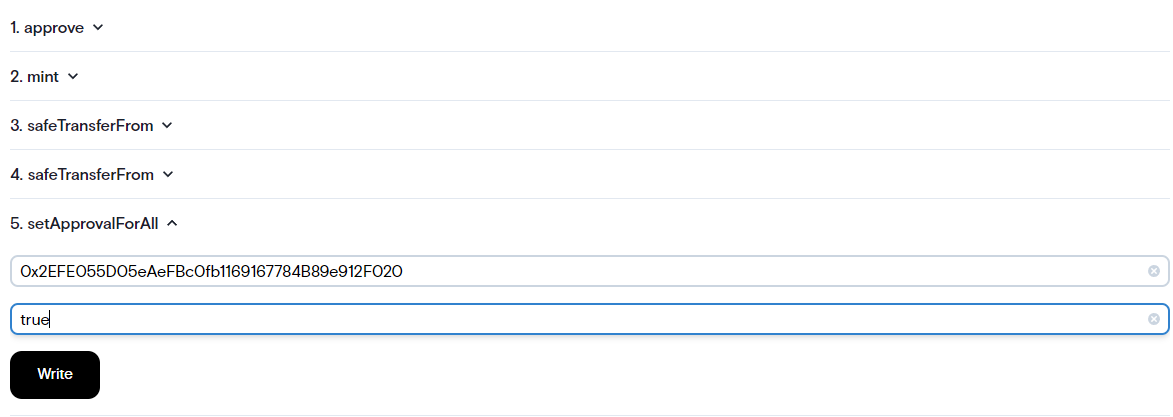
Perform Quest 4:
- Visit: https://explorer.testnet.frame.xyz/token/0x9
- Connect the Metamask wallet to the Frame Testnet network.
- Select “setApprovalForAll” and fill in the following parameters:
- 0x2EFE055D05eAeFBc0fb1169167784B89e912F020
- true
- Select “Write” and sign the transaction on the wallet.
- Visit: https://revoke.cash/
- Connect the Metamask wallet to the Frame Testnet network.
- Find the contract that has Approval and Revoke.
Summary
Above are detailed instructions on how to participate in the Frame Layer 2 testnet from Weakhand. Hopefully, through this article, everyone will be able to receive airdrops from the project in the future.


